Thursday, April 13, 2017

Decorating with letters and wine corks.

This is a project I completed for our dining room.  I have seen different ideas regarding corks and recently found online where someone took wooden letters and affixed corks to them and hung them on the wall.  I wanted to use metal and since Hobby Lobby opened up in town recently, let's see what we can make.

I found what I wanted, but the hollow parts in the back and when you flip a letter such as an "R", it doesn't work.  Oh well let's pull out the metal cutting discs for the dremel.


I ended up burning through roughly a dozen of the dremel discs to get the letters dismantled so I could get them the correct way for this project.


Now that they were cut, I had to figure out a way to put them back together. Unfortunately, I'm not a metalsmith nor do I own a welder.  Therefore, I ended up buying a tube of Gorilla glue construction adhesive that did indicate it can bind metal to metal 


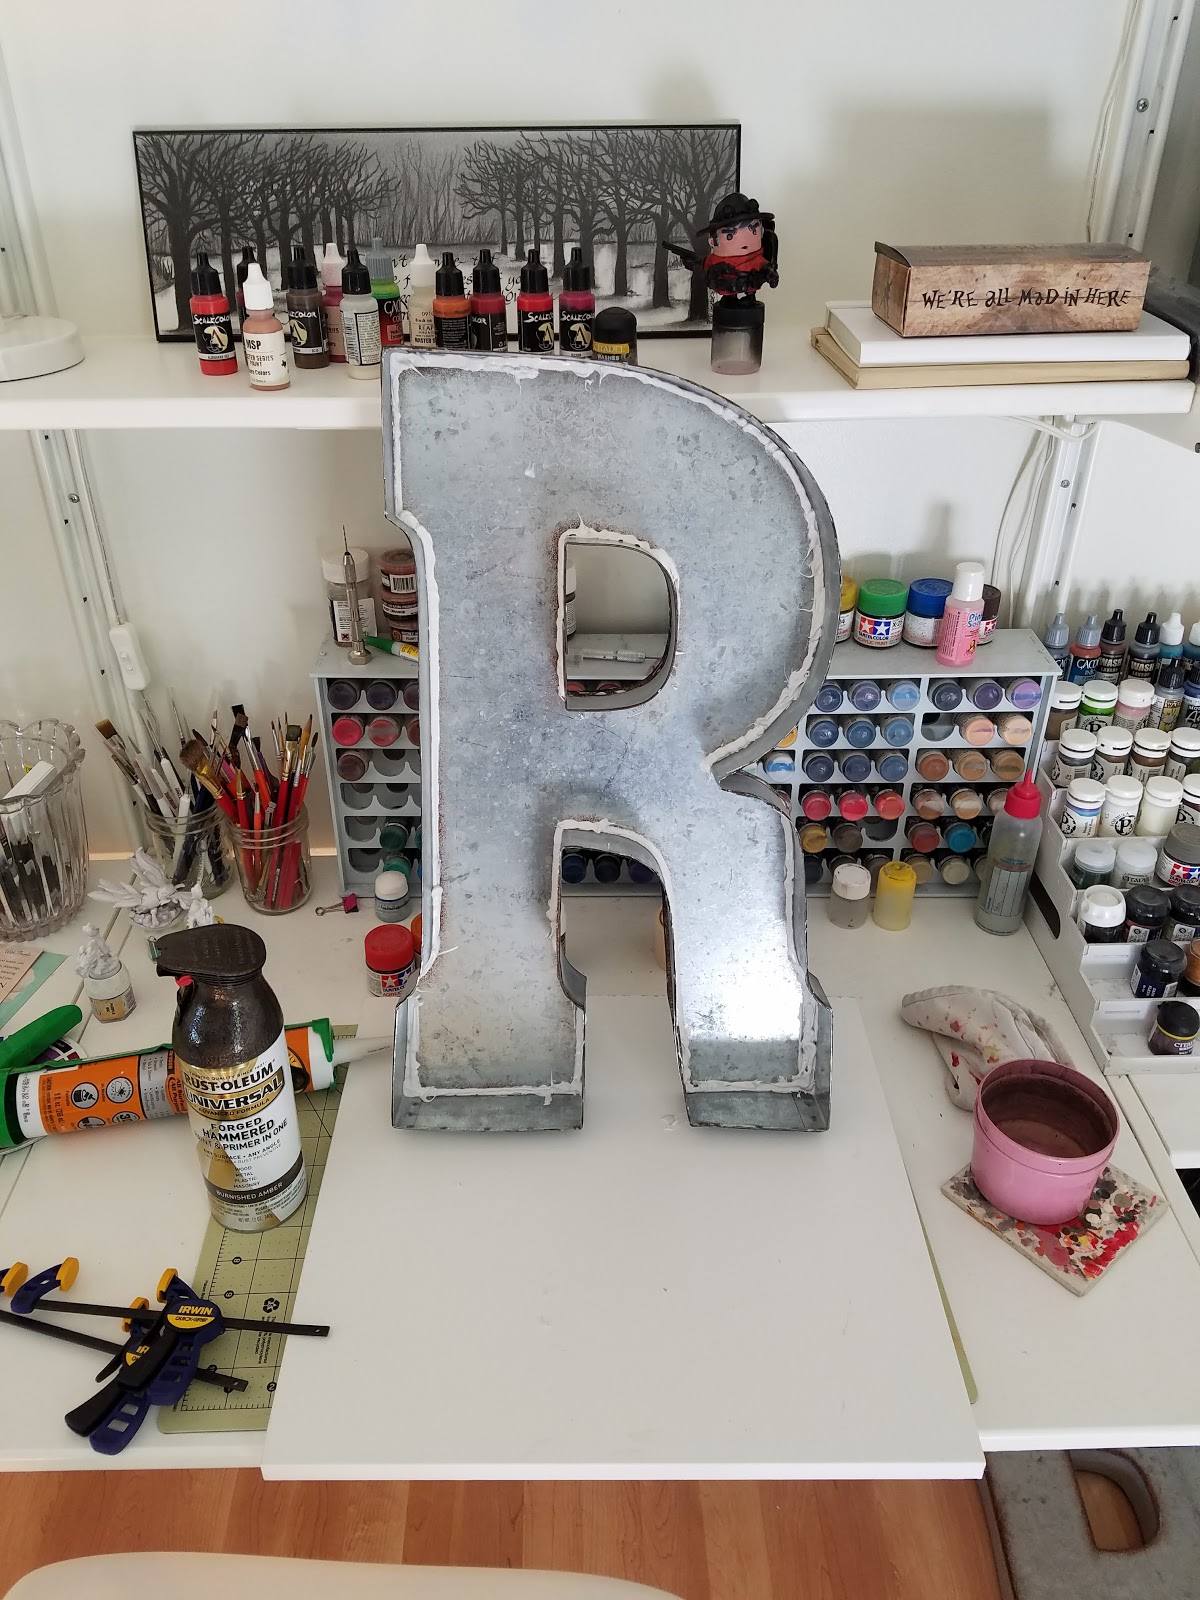
To make it work, I had to place a bead along one side, let it set, then use clamps to hold other parts in line, make a bead, let it set, then move along until the whole thing was complete.  My beads are ugly, but eventually they will be hidden by the cork.

This is the finished letter prior to painting. 

I painted it with Rustoleum forged beaten  Amber and one can worked both letters.


After placement on the wall, I used the corks we had on hand.  It will take a while to fill both up, but here is where the project currently stands.


As always thank you for looking.

Wumby

Pallet entryway furniture.

So this isn't miniature related or too verbose because I am typing on a tablet for a while.  I made this for a dear friend of my family as part of a housewarming gift for her getting her own place for the first time.

It started as a pallet I took from leaning up against the neighborhood dumpster.  A repurposed women closet shelf,and some short length 4x4s laying around my dad's barn.

I cut about 1/3 of the height of the pallet off with a circular saw, cut the shelf the width of the pallet, and the 4x4s were cut to the depth of the shelf to support the shelf on the top of the pallet.  I then sanded the pallet down to smooth it out.


All the exposed areas received a few coats of an espresso color stain.  I screwed the shelf into the 4x4s, then ran 4 inch screws through the back of the pallet into the 4x4s.  There's not much of a load bearing on the shelf, but it will hold some decorative items.


 Once stained, I used two cans of glossy spray polyurethane to give it a nice finish.  Lastly, I added some hooks for coats, keys,and what-nots.  Then I hung it on her wall.  I'm quite pleased with the results here.
As always, thank you for browsing my projects.

Wumby

Follies with Spray Primers